|
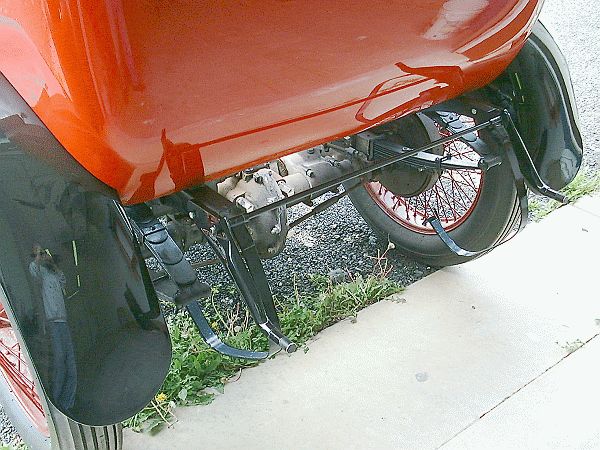
Final assembly of the car started with the kerosene tank and spare tire support hardware at the rear of the car.
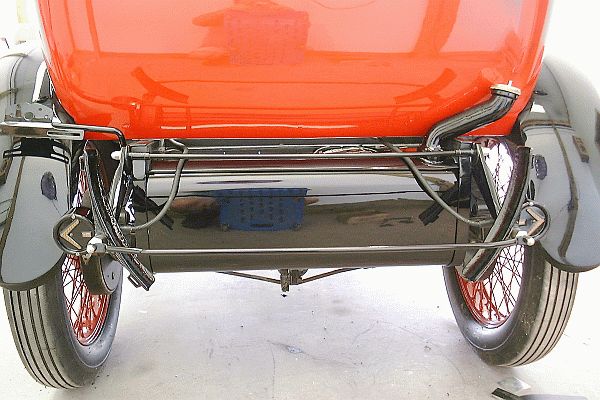
The kerosene tank was set inside its hanger straps and the straps bolted to the frame of the car. Next, the two spare tire saddles were mounted along with the turn signals. The turn signals are actually from a 1940-era truck and were added by the previous owner for safety. They were retained for safety since they look the age of the car. The bracket over the left rear fender will hold the license plate as well as the original combination tail and stop light. The two flexible cables route power to the turn signals.
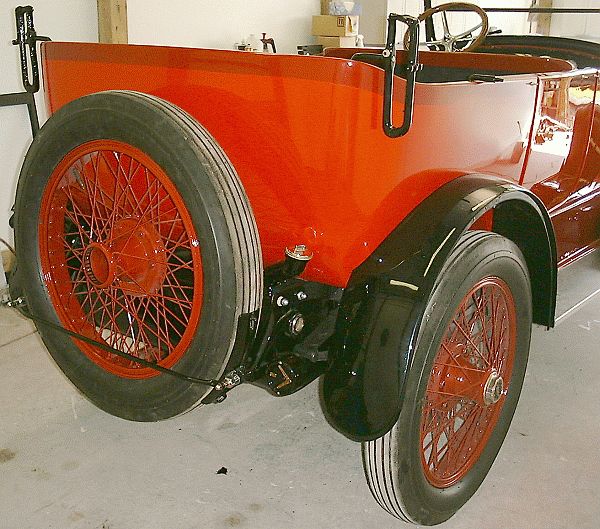
With the spare wheel in place and the pair of top bow holders mounted to their brackets the assembly work at the rear of the car is complete. The center hub of the spare tire will eventually be covered with a plate indicating the car is a 1918 Stanley Model 735.
Numerous activities completed the assembly at the front of the car. The brass condenser shell was dropped over the condenser fill pipe and fastened in place with a pair of bolts at the bottom of the shell. The "cow catcher" was installed along with a license plate bracket that will eventually display a plate declaring the make of the car similar to the plate mounted to the spare wheel. The headlight fork mounts were bolted to the frame and the lamp assembles mounted to the fork mounts. The last activity was the assembly of the windshield to the vertical pillars and the installation of the assembled windshield to the front windshield bracket.
Art Simpson, owner of Art Signs, paints the owner's initials on the driver's door. Already painted is the pinstripe dividing the two shades of red on the body of the car along with an pinstripe across the rear of the front seat.
Starting at the condenser shell the pinstripe runs along the edge of the upper hood panel, follows the body curve at the windshield and then continues around the side and rear of the car dividing the darker red from the lighter red. The paint used for the pinstripe is Sign Painter's One-Shot in Tan
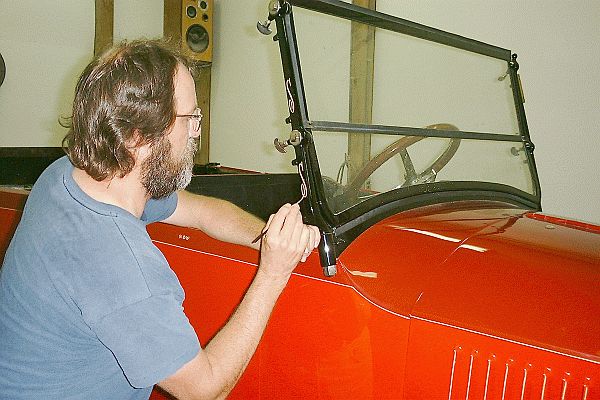
The windshield support pillars receive accent S pinstripes in the above photograph. The S pinstripes were also applied to the two brackets which hold the top bows when the top is down. Other parts that were pinstriped included the wire wheels, toolbox lid, and drip valve handle. The lower right corner of the photograph catches a portion of the louvered hood side panel showing the pinstriping at the edge of each louver.
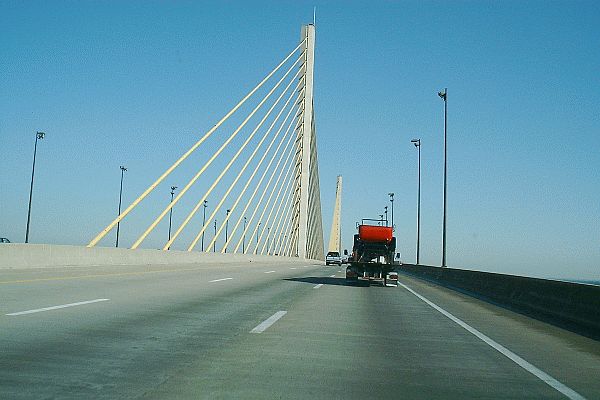
On Saturday, June 12, 2004 the body restoration efforts are completed and the car heads home. Shown on the back of a rollback the car is headed North on Delaware Route 1 as it travels over the St. Georges's Bridge which crosses the Chesapeake & Delaware Canal. In an hour the car would be making its first public appearance at Wilhelm's Antique Farm Machinery Show in Avondale, PA. Phase three of the restoration would now commence. Phase three includes reupholstering the leather seats, making new floorboards and covering them with linoleum, and having a replacement black canvas top made. Once the car was fully assembled, a hand applied and rubbed coating of Mothers California Gold® Natural Formula Pure Carnauba Wax completed the effort. For removing dust from the painted surfaces Race Glaze Gloss Highlighter mist and wipe "quick" detailer is used as needed. It can be applied to paint, rubber, glass or plated surfaces. Race Glaze Gloss Highlighter removes the harmful contaminants before they damage the finish. Race Glaze's unique formula contains no waxes, silicone, oils or hydrocarbon solvents. |