|
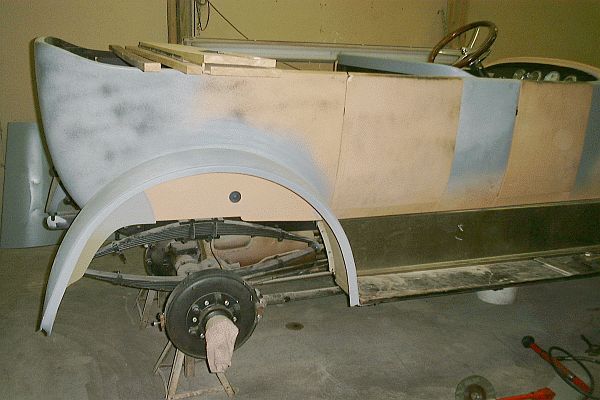
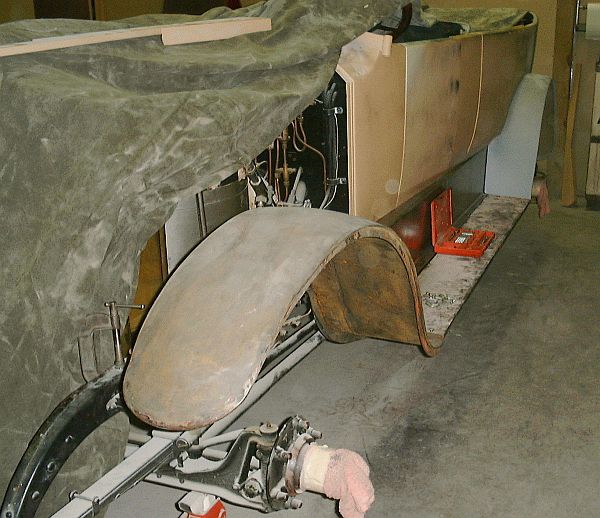
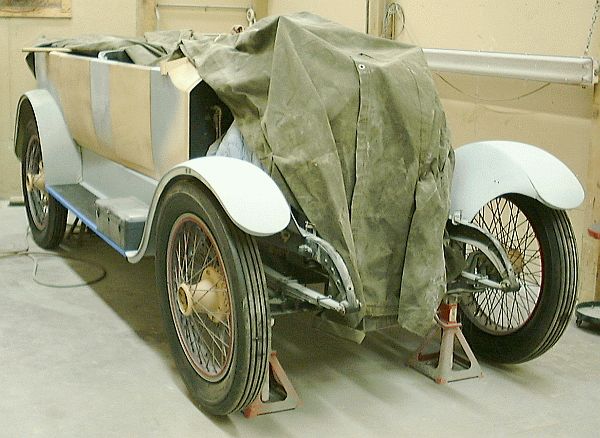
With the car stripped and the major body work done the next step was to prime the car. The primer insures proper adhesion of the aluminum and steel body panels of the car and the top color coat of paint. The primer also serves to level the body surfaces of the car such that light reflected from the glossy top color coat of paint on the car doesn't reveal surface imperfections. Without question a properly applied and finished primer coat is the key to the highest quality finish ending up on a car.
The first activity after the major body work was completed was lightly sanding all body base metal surfaces of the car to insure all oxidation was removed form all surfaces to be primed. The car's body and chassis was then thoroughly cleaned with a strong jet of filtered, compressed air. Next the car's body was wrapped in paper to keep the primer from reaching areas not intended to be primed.
With the car's body wrapped in paper all surfaces to be primed are carefully wiped down with solvent and air dried to insure they were void of anything that might affect the application and adherence of primer to the surface. If the body has any traces of dirt, oils, or other foreign matter on the surface, the primer will not adhere properly and will create problems later in the priming and painting process.
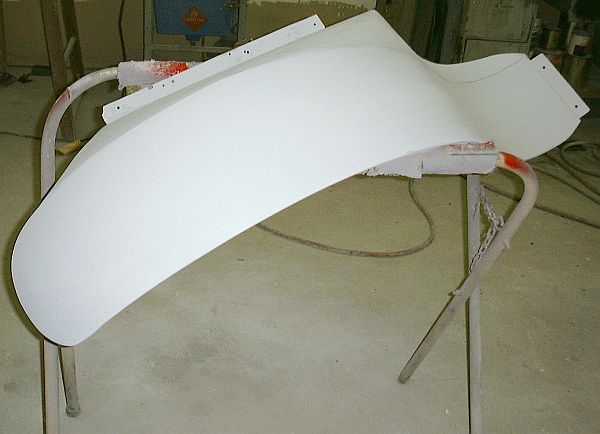
With the car properly prepared a coat of DuPont’s Premier Wash Primer (#1305 and 615) was applied. This is an acid etching primer that enhances adhesion retention through phosphate conversion and it contains a corrosion inhibitor. This primer insures a good chemical bond between the aluminum and the initial layer of primer in direct contact with the aluminum surface. The primer is applied in a properly ventilated area that is clean and dust free.
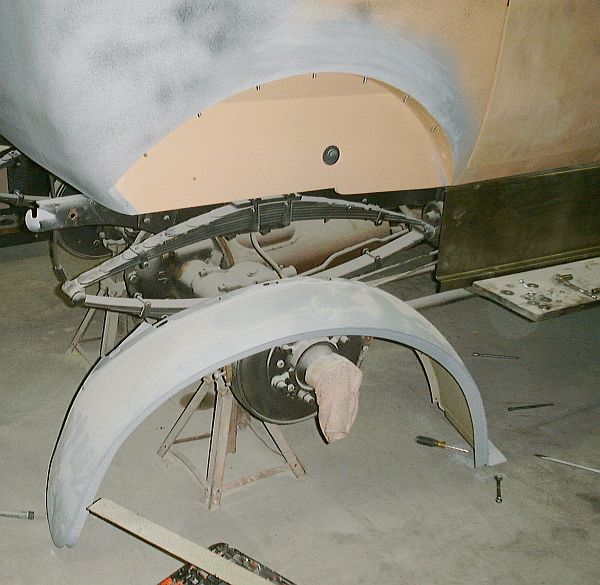
Next, to obtain a smooth surface DuPont’s Uro Prime (#1120 and #1140) filler/primer is applied. This product has cross-linking chemistries to improve performance. Once dry the primer is splattered with black paint. The black paint allows the body surfaces to be leveled. As the primer is lightly sanded with a 240-grit sandpaper, primer is removed from the high spots while in the low spots the black splatter remains.
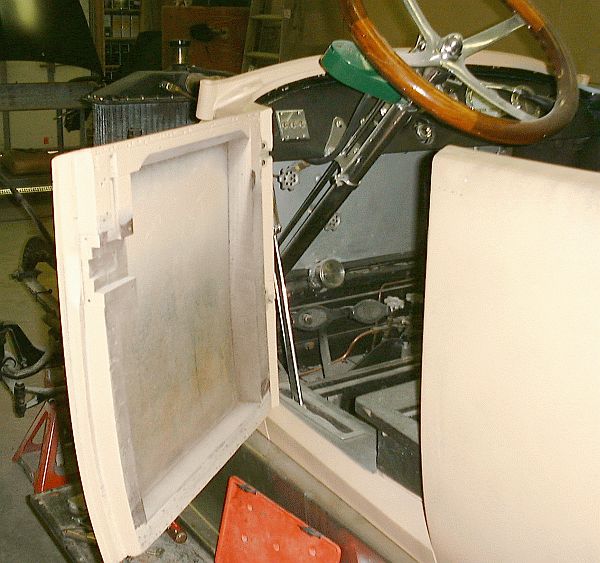
The important aspect of this sanding process is not to sand through the primer and expose bare metal. A power sander can be used initially on larger surfaces with handing sanding using a a piece of sandpaper on a rubber block being best for tight corners and intricately contoured areas. Sanding at this stage involves sanding with rigid sanding blocks that are long so that large areas of the body can be leveled.
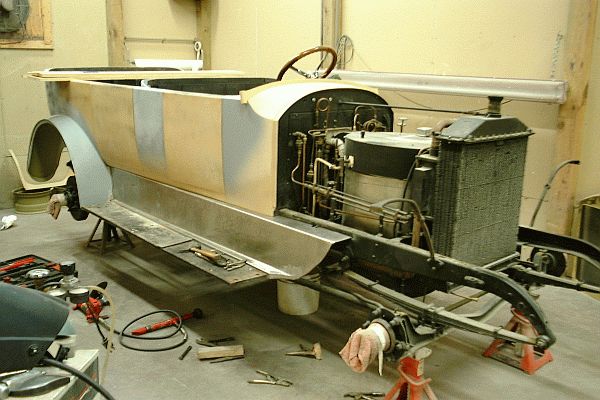
Where body panel irregularities are more severe than can be corrected with multiple applications of filler/primer, a thin body putty with the consistency of maple syrup is applied to the low area and sanded. Low areas on the Stanley's body were treated with Metal Glaze/Final Glaze as necessary. After application of body putty and adequate curing time, the putty was sanded to level the low spot. Additional coats of putty and primer were applied as required, allowed to cure, and sanded.
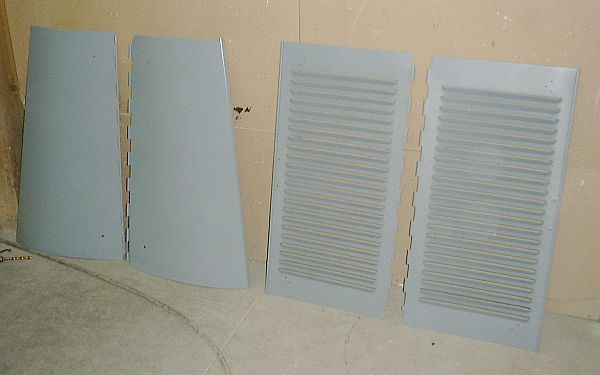
With the body surface now leveled and free of imperfections the final sanding is performed. Any imperfections in the primer after final sanding will appear in the color top coat finish of the car. At this stage sanding is done with successively finer grades of sandpaper to achieve a smooth and almost satin finish. The final sanding is done totally by hand (no power tools are used) with 600-grit or finer sandpaper. To insure the best possible finish some body components, especially those to be painted black which shows every imperfection, were wet sanded with 1200-grit sandpaper.
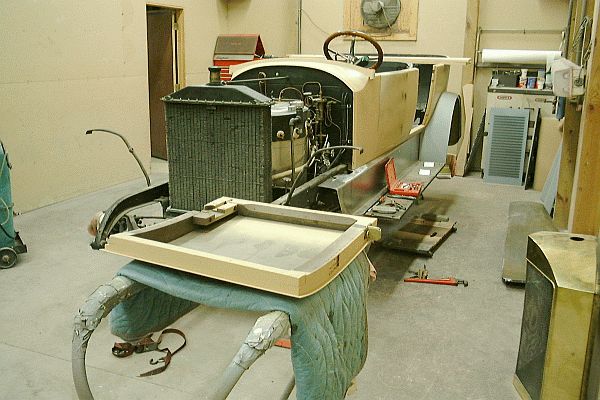
Finally, after a complete light sanding and blocking the car was ready for the paint booth.
|