|
The original front seat floorboards were in so-so condition with respect to the lumber. Perhaps the worst floorboard was the largest one as it had a large hole cut in it for an alternate water tank indicator. The original linoleum had been glued in place and some of the aluminum trim moldings were missing. Rather than repair the existing floorboards they were simply replaced with replicas made of oak like the originals. The aluminum molding that framed each floorboard was located at Youngstown Aluminum Products and each replica floorboard was framed in trim identical to the original floorboards. Finally new linoleum was cut and glued in place.
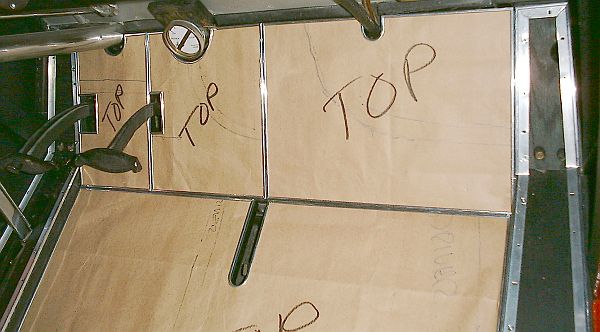
In the above photograph all four front floorboards are shown in place for a fitting. The aluminum trim has been installed and brown paper has been cut as a template for cutting the linoleum. To the right and left of the paper-covered floorboards which can be removed, are two stationary floorboards which are actually car body frame members that are simply bordered in aluminum trim and covered with linoleum. The black linoleum, manufactured by Forbo, was cut to match the paper patterns and glued in place using linoleum adhesive.
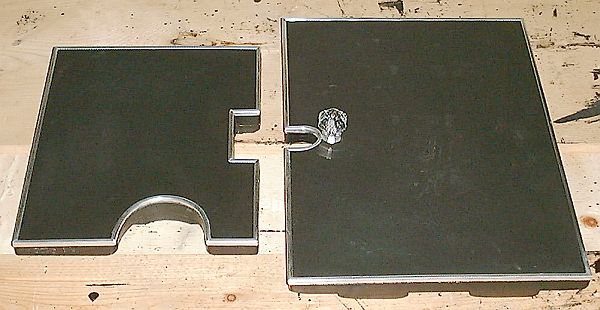
Pictured above are two of the four front seat floorboards awaiting placement in the car. The aluminum trim was cut using a metal blade in a chop-saw. Each trim piece was then attached to the wooden floorboard using flat head screws. To keep the corner joints tight a staple was driven in the trim pieces with the pneumatic stapler. Located under the floorboards that sit at an angle against the firewall are a pair of valves and a tire air chuck used to pressurize the kerosene fuel service tanks and to pressurize the pilot tank. The right panel in the photograph above hides the valves but includes an old glass door-pull so that the panel can be quickly removed to gain access to the valves and air chuck. The large half-round cutout in the left panel fits around the boiler water level indicator gauge while the square cutout is for the brake pedal.
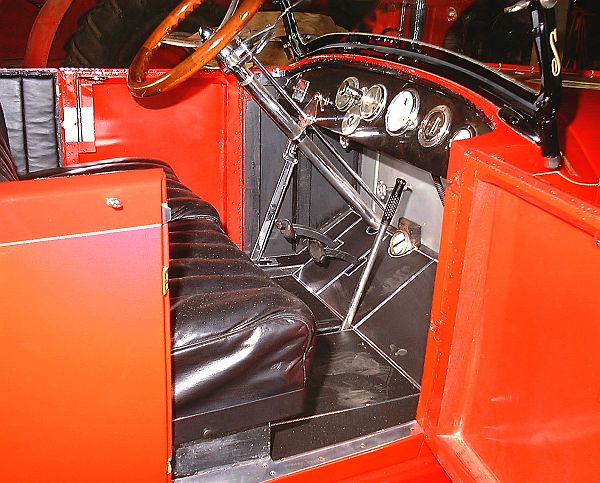
The above photograph shows the floorboards in place. A few more items remain to be attended to. The leather covered panels that line the inside of the body under the dash have yet to be put in place. The fill block over the boiler water level gauge has yet to be painted and screwed permanently to the firewall. A length of trim wire-on has yet to be placed over the seam between the car's body and the top edge of the wooden dashboard. Also waiting completion is the installation of the leather pockets and panels on the doors. When all that is complete a cleaning of the interior will be in order considering the saw dust and other debris on the seats and floorboards.
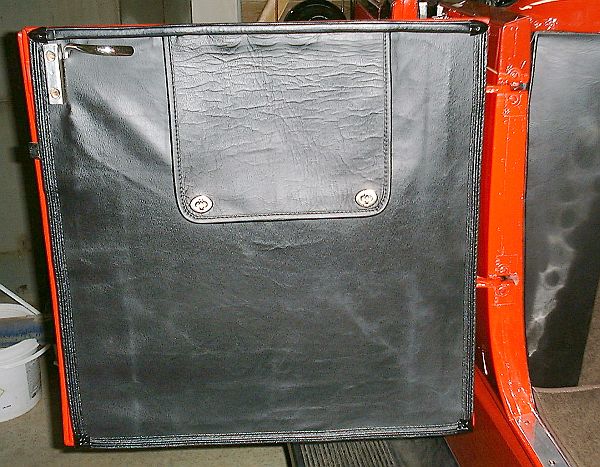
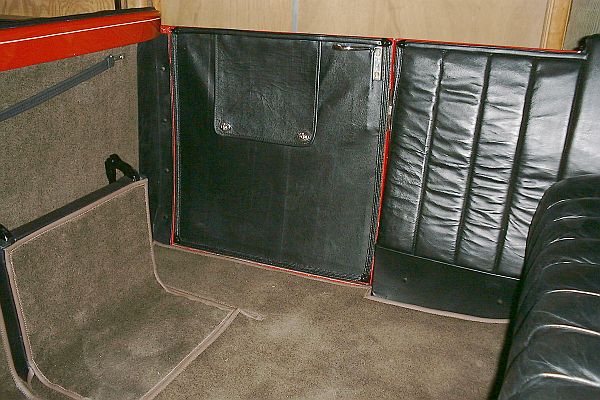
The door's interior covering of leather was simply stretched across the door's wooden frame and tacked in place. A strip of hidem covered the tacks. Each of the four doors included a storage pouch. During the 1950-1952 restoration, the door panel leather was replaced as evidenced by a tanner's 1952 date stamp on two of the panels. The pockets that were installed behind the leather covering were made of red Naugahyde at that time. Originally Shields Carriage Company might have sewn them of leather or the top material. For the restoration they were made from scrap pieces of the top material.
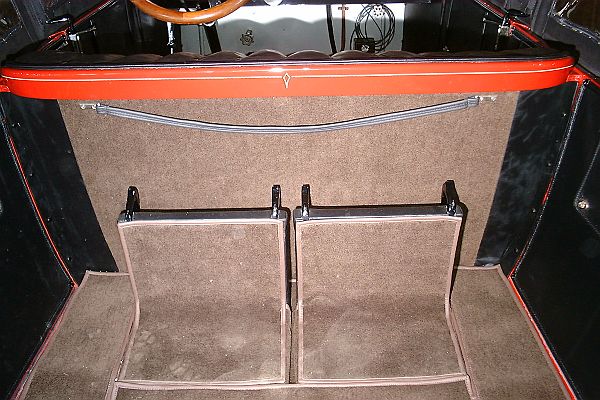
Pictured above is the finished interior for the rear seat area. The trim hidem and wire-on has been installed as has the leather filler at the bottom of the side panel just in front of the seat. The carpet is in place and the blanket strap has been installed on the back of the front seat.
The back of the front seat was covered with the carpet material and includes leather strips to either side. When the jump-seats are stowed everything takes on a carpeted appearance for the most part.
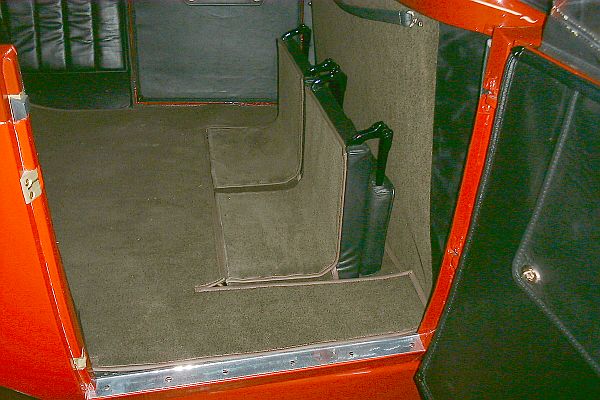
With the rear passenger door open we get a view of the interior with both jump-seats stowed. The aluminum threshold plates are original and were simply lightly sanded and then polished to remove many years of oxidation. |