|
Having used the original top (or what was left of it) a new top of Black Stayfast was fabricated. The top was placed over the bows and stapled to the front edge of the first bow. The top material was then pulled taught and fastened to the last bow at the rear of the car. At this point the top was basically in place.
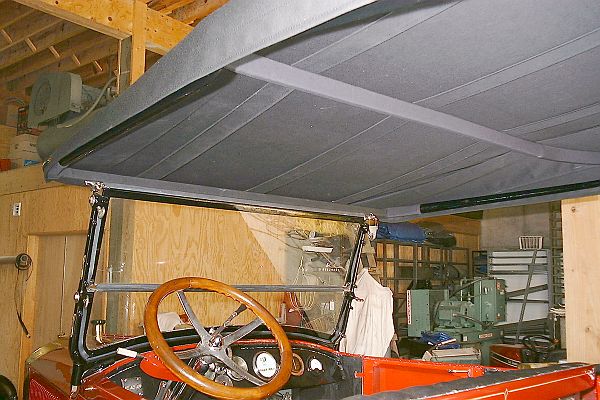
The photograph above is and interior look at the top over the front seat area. The number two bow is clearly seen supporting the top material.
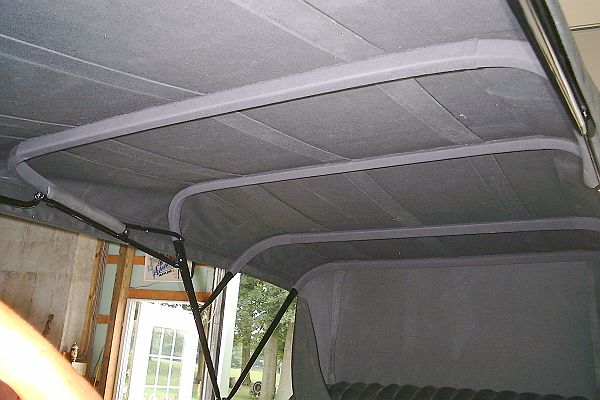
Bows two, three, and four support the new top in this photograph. At the rear bow number five supports the top as well as the vertical panel at the rear of the car which has yet to have the windows installed.
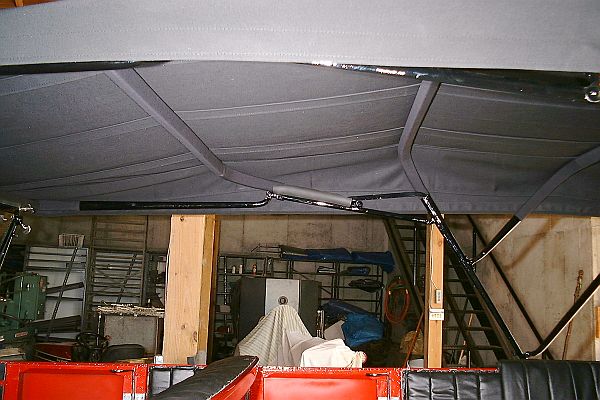
The photograph above shows how the side material of the top is cut to fit the curving contour of the top but to also presents a straight and level line along its bottom edge. The material of the top just covers the top bow sockets and mechanism.
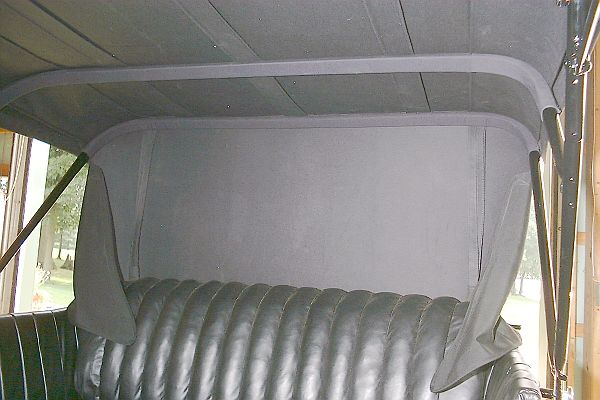
Looking to the rear of the car the back panel is straight and taught. The two side wings of the rear panel have yet to have eyelets inserted in the edges for fastening to the top edge of the car's body and to the top bow socket for the fifth bow.
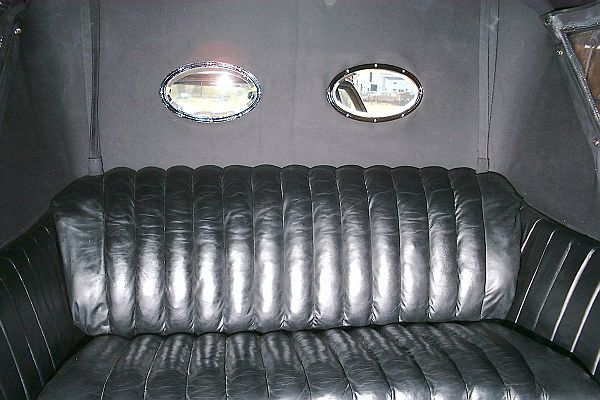
Beveled glass was very common in the era of this Stanley and it makes its appearance in both rear windows as well as in the driver's rear-view mirror. Using the old top rear panel as a template, two ovals were cut into the rear fabric. The oval windows are held in place with a pair of half-round metal frames. The outer nickel plated frame has 5-32 studs which go through the material and into a matching half-round metal frame painted gloss black on the inside. It took two people about three hours of pushing and working the beveled glass, two metal frames, flexing top material, and manipulating eight miniature nuts per window to get the two windows mounted, aligned, and tight. |
