|
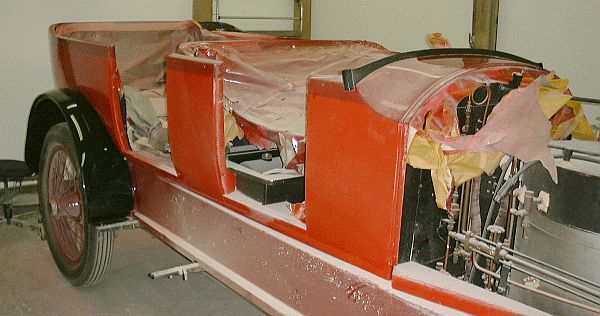
One part of the body ended up having more paint on it than any other part of the car. The lower portion of the windshield was initially painted light red when the car's body was painted. It was then painted dark red when the accent stripe painting was done around the top edge of the body. As shown in the above photograph it finally ended up black to match the windshield frame and support pillars.
IMRON is one of the few paint systems that is tough enough to be sanded and then buffed back to a wet-look shine. Once all the painting was complete the car’s body was lightly power and hand sanded with 2000-grit paper in selected areas. The sanding was done anywhere a tape line appeared in the finish. The objective of the sanding was to remove the “bump” that remained after painting where the edge of a strip of masking tape had been. After sanding 3M’s Imperial Microfinishing Compound (#06011) was applied with a wool pad applicator on a polisher/buffer. Following this application the surface was further enhanced with 3M’s Finesse-it Finishing Material (#05928) again applied with a wool pad applicator on a polisher/buffer. The final step, shown being performed in the above photograph, was a foam pad polishing using 3M’s Perfect-It Foam Polishing Pad Glaze (#05995).
After the sanding, buffing, and polishing activities, not to mention the previous body restoration activities, the car was covered with dust and debris. The only solution was a complete soap and water washing on a nice Spring day. The car was rolled outdoors and every inch of surface area (including the undercarriage) was washed, rinsed, and dried with cotton towels. The warm Spring sun and April breezes dried the car in no time.
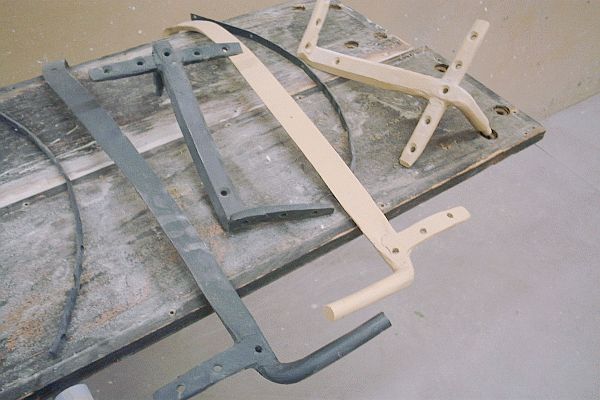
The restoration effort provided many surprises. One was related to the irons to which the car's top is mounted. The iron bars were hammer forged to meet the contours of the body. Even more amazing was the hammer welding, also known as forge welding, that was done. To make the weld the blacksmiths would prepare the ends of the bars to be joined. They would then be heated to a red heat which is considerably below the melting temperature of the iron. Next a flux is applied to the surfaces to be joined. The flux protects the end of metal to be joined from oxidization which would weaken the weld. A typical flux of the time was Borax (chemically known as Sodium Tetraborate Na2B4O7). The blacksmith, by skillful use of a hammer and an anvil, was able to create pressure at the mating surfaces sufficient to cause the metals to melt together forming the welded connection. Careful observation of the photograph above will show the hairline edges of the cross-pieces forge welded to the main body of the top iron.
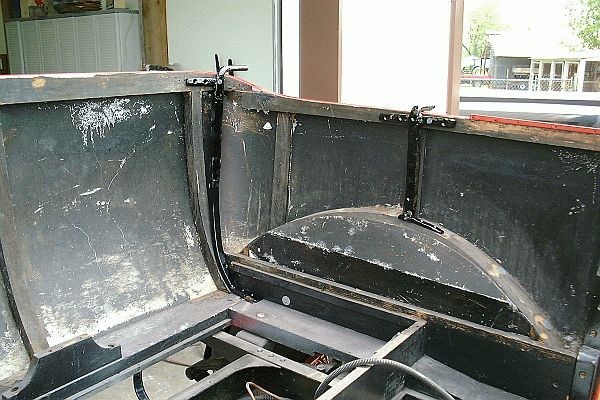
The above photograph shows the two left side top supports in place. Note how they have been forge bent to match the contour of the body and wooden body support members. The front support is threaded for a nut and is where the metal top bow socket assembly mounts and pivots. The rear support holds a bracket that supports the wooden top bows when the top is stowed at the rear of the car.
All of the doors were remounted on the car after washing and checked that they still opened and closed with ease. As part of the final mounting of the doors the door latch mechanisms were installed along with the brass latch strikers. The doors close against rubber bumpers to insure there is no rubbing contact between the door and the body. It is interesting to observe the car's doors move as changes in relative humidity occur. Even though the wooden door frames and the wooden body frame is painted, the wood still absorbs humidity from the air over time and the doors change their relative positions slightly.
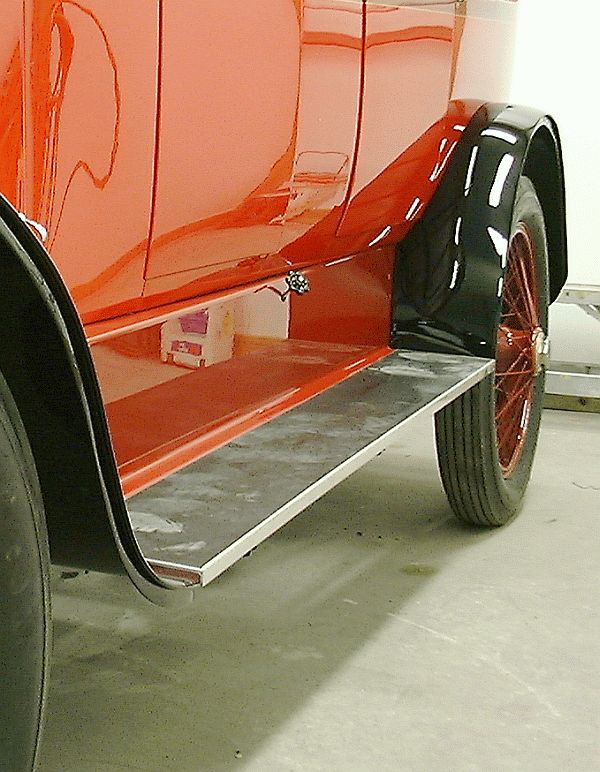
Both running boards were replaced with new 5/4 wooden panels. For many years linoleum was not available in the US however in recent years it has made a comeback and is once again available. Often folks call todays vinyl floor materials "linoleum" however true linoleum is manufactured from linseed oils and has a jute rope backing. The running boards as well as the front floorboards are covered in black linoleum manufactured by Forbo Corporation (www.forbo-flooring.com). The product selected is Forbo's Marmoleum Walton 123 and it was applied to the wooden running board using Forbo's L910 adhesive. The aluminum edging for the running board is made by Youngstown Aluminum Products (www.yapinc.com). The product is Youngstown's #944 Aluminum Edge Molding which they polished.
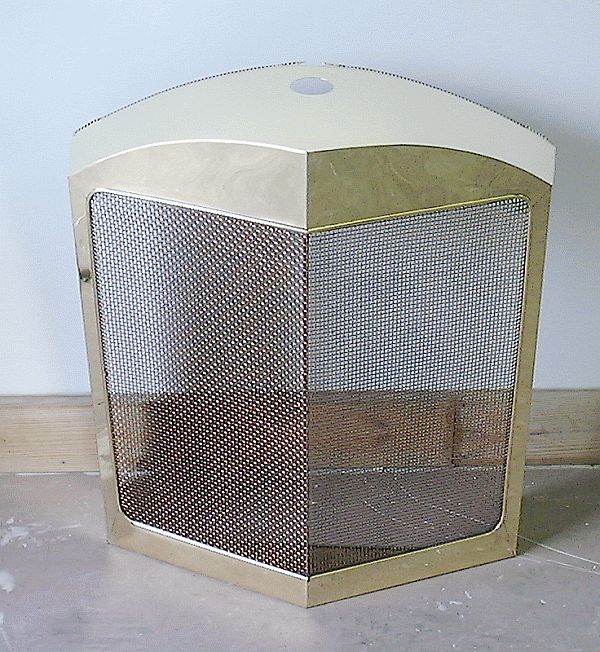
A major effort was mounted to restore the brass and copper condenser cover and grill. Stanley originally offered the Model 735 cars with a V-shaped condenser. The V-joint proved problematic and they found they were replacing condensers due to leakage. They finally went to a standard flat radiator of large size used for trucks for their condensers and added a brass cover over it to keep the V-shape. The brass shell was soldered together and over the years the car saw use the heat and oxidation allowed some of the seams to open up. The shell was resoldered by a sheetmetal shop and several of the joints where higher stresses are encountered were MIG welded for additional strength. Next came the cleaning of the shell. Years and years of oxidization had turned the brass brown and the copper screen green. Multiple heavy coats of industrial cleaners were used to remove the heaviest accumulations of oxidization. Next the brass areas were lightly power sanded with 3000-grit sandpaper and then compounded. After compounding the same steps used to buff and polish the body were used to return the bright shine to the brass and the copper. To prevent the need for continuous maintenance in the future the condenser cover was coated with DuPont MetaLok® -CVP 235S™ to provide adhesion. Once the Metaloc had become tacky the assembly received several coats of Imron clear coat. |