|
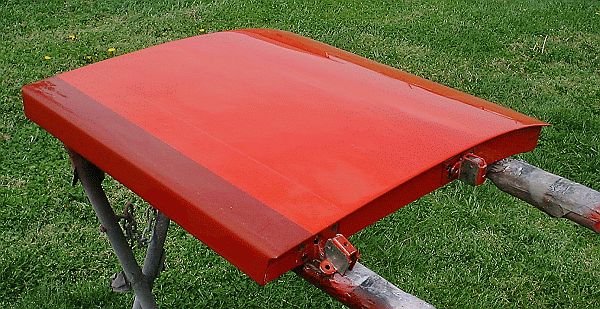
While the car's body was left alone for several months the painting of other parts of the car took place. By allowing the car's body to "rest" for several months it insured that all the cross-linking polymer structure of the Imron paint occurred before subsequent activities were started. The color selected for the top of the hood, the wheels, and the splash guards was DuPont Imron RS-593.
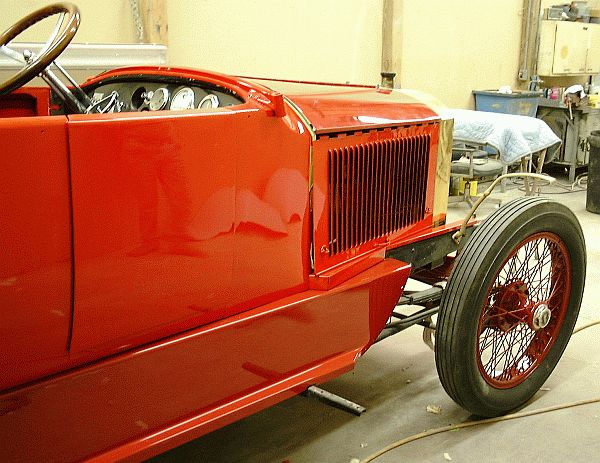
In the above photograph the red splash guard ~ the metal panel which runs between the body and running board ~ has been painted darker red. The right-side splash guard had been replaced with a thin galvanized piece of metal during the 1952 restoration and had not been properly prepared. Being thin it wanted to "oil can" and this flexing caused the paint to flake off. The splash guard on the left side was original steel and had begun to rust through in places. Both splash guards were replaced with new steel guards which were formed to match the originals. As the boiler feedwater heater is mounted just behind the right splash guard the back side of this panel was insulated to reduce the heat transfer to the panel.
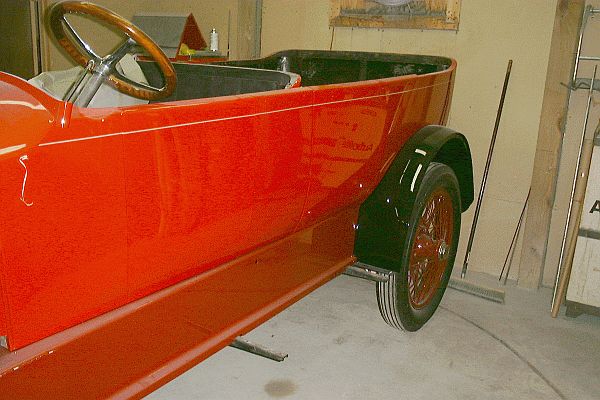
The left rear wheel fender is shown attached to the car in the above photograph along with the left splash guard. This fit-up was performed to make sure all parts mated properly. Not shown in the photograph is the running board which attaches to the brackets shown. You will also note that the doors are also in place. One of the activities that occurred was to mount the doors and then to properly shim the body to the frame so that the doors closed and latched properly. Being a hand-built car it was important to keep each door hinge identified as to location along with all the latching hardware and door stops. Along the top edge of the body a thin strip of detailing tape has been attached. This strip of tape could only be applied once all doors and the hood had been properly fitted. The upped edge of the tape line represents the lower edge of the darker red highlight band that surrounds the top edge of the body. Once the darker red highlight band had cured an artist would replace the tape band with a hand-painted pin-stripe of buckskin color.
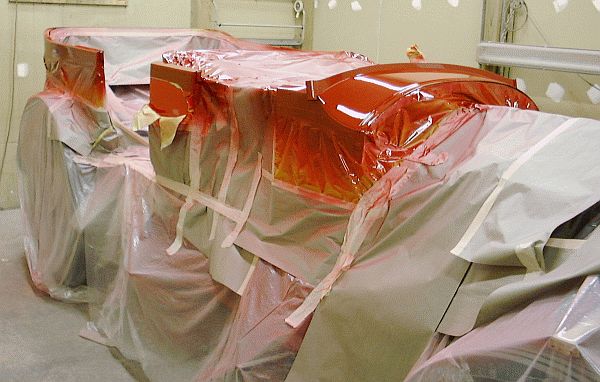
Once the tape dividing line between the darker red highlight and lighter red body color was in place the lower portion of the car could be masked with paper and plastic. A one-inch band on masking tape was placed on the thin tape line and then the masking paper taped to the masking tape. As shown in the above photograph the dark red highlight includes the area immediately in front of the windshield with will mate with the top two panels of the hood which are also painted the darker red accent color.
Getting the tape line to follow the complex curves of the car's rear body panel was not easy. The tape line had to be located at a uniform distance from the top edge of the body (which is a 1/4" radius) as it was attached to the curving surfaces of the body. The darker red Imron highlight color was applied and then the garage bay was heated for several hours to bake the color and allow the cross-linking Imron chemistry to work.
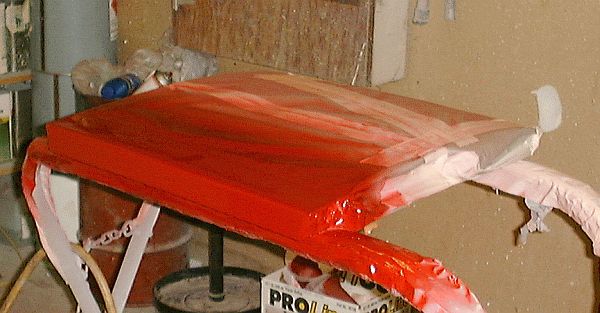
Due to the complex contours of the doors and in particular the edges of the doors, it was not possible to paint the doors on the car at the same time the body was painted with the darker red highlight color. The four doors were independently masked and painted on stands. By having the doors on the car and applying the thin masking tape to the doors and body at the same time insured that when the doors returned to the car that all paint lines would match up.
The finished door showing the edge with the highlight color flowing around to the complex edge of the door. While not easily seen in the above picture, the paint is rough at the boundary between the two shades of red due to the thickness of the masking tape. Once the dark red color had cured the edge was buffed out using a power buffer. Note that the hinges are still in place on the door after the door's initial fitting and adjustment to the body. Stanley parts are not all that interchangeable as we found out during the door restoration process. Hinges vary slightly and the hinge recesses in the doors and the door frames are custom fitted making it imperative that the exact hinges (and other hardware as well) be returned to the exact location they were originally installed. Additionally the hinges required thin shims and spacers to achieve proper alignment and keeping the hinges on the doors insures the shimming and adjustments remain. The part of the hinge which attaches to the car body fits in a casting set into the body thus allowing for the adjustments to remain while the door can be removed for painting and interior upholstery. |