|
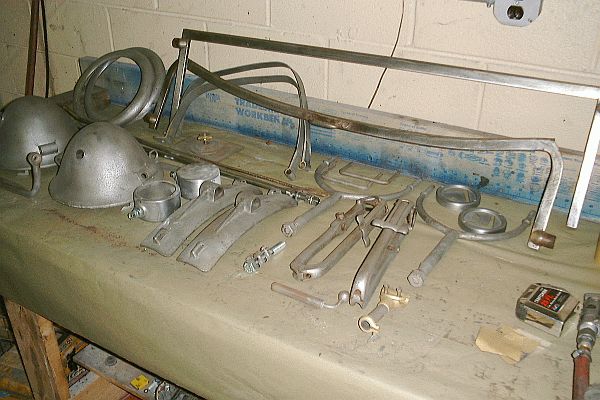
While a lot of time would be expended on painting the car's body, a significant amount of time also needed to be spent on the parts being painted black. Pictured above are the smaller parts which would go through the same restoration and painting processes as the body, door, and hood panels. After stripping off the old gray paint down to the bear metal, significant body work was required. Many of the pieces, such as the headlight holders and spare tire supports required extensive filling of voids in the castings.
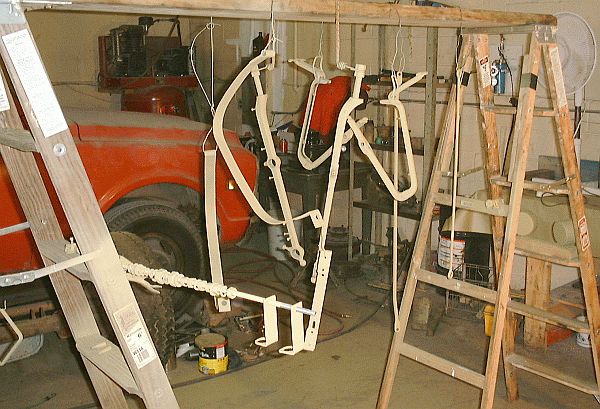
In the above photograph various hardware components have been painted with etching primer and primer-filler. Pictured are the two straps which hold the kerosene tank at the rear of the car, the two windshield pillars, the pair of top bow holders, and various spare tire holder components.
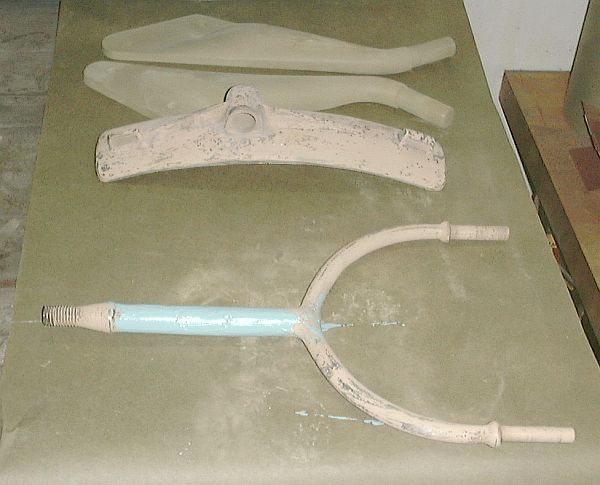
There were six items which required extensive body work. Shown from top to bottom in the above photograph are the two spare tire support brackets, of of two spare tire support saddles, and one of two headlamp holders. Both of the headlamp holders as well as both of the spare tire support saddles had extensive pitting of the casting that required filling. The two spare tire support brackets are actually fabricated replacements. When the car had accidentally been backed into a guardrail many years ago the right rear tire support had broken. A replacement of the wrong size was used in its place. In order to correct the mismatch of parts a new pair of supports was fabricated. The replacements were fabricated from 1/4" steel plate and 1" diameter steel rod. Once welded together each support was filled and shaped with epoxy-fiberglass body filler to match the contours of the original supports. Thus the replacements were made to look like the original supports that were on the car when it left the factory in 1918.
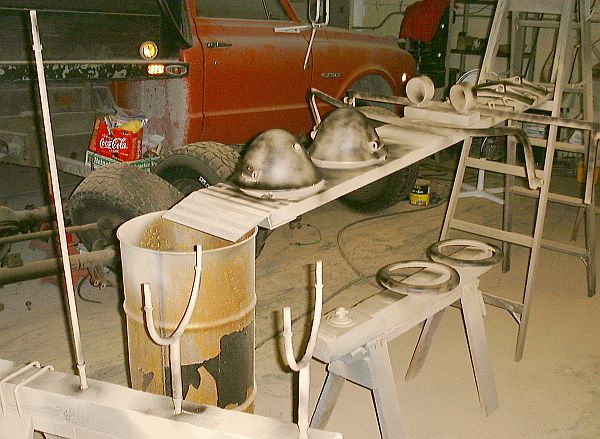
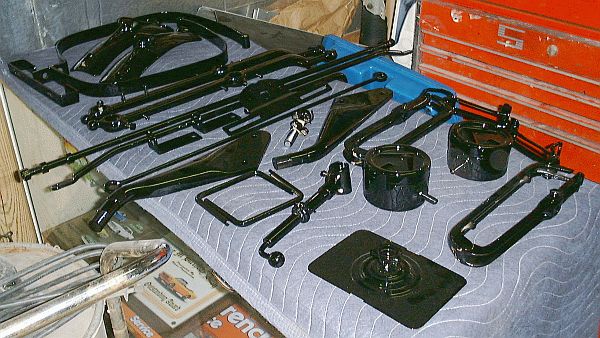
One of the final steps before painting is to lightly spray black paint on the parts after priming. By applying flat black paint and then sanding the part, the black paint remains in the low areas thus indicating where more filling and bodywork is required. In the above photograph most of the items to be painted gloss black are nearing completion of body work and have been lightly dusted with flat black paint prior to final sanding and preparation for painting.
The above photograph shows all hardware components for the car painted Imron Black (RS-99). These parts will be assembled on the car once all bodywork painting is complete.
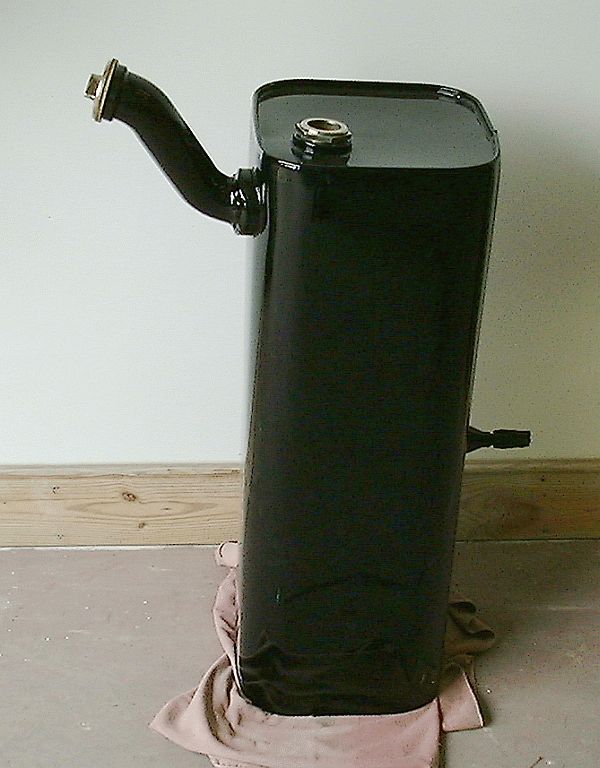
The car's original kerosene tank was made of steel and had rusted through. It had been repaired with gas tank sealer several times in the past and was still weeping kerosene. A stainless steel tank was fabricated to match the original. The original filler neck and fuel level indicator were removed from the original tank for reuse with the replacement tank. The fitting protruding from the center right of the tank is actually at the bottom of the tank is the sump from which an internal tube draws kerosene from the tank. A cap on the sump can be removed to drain the tank.
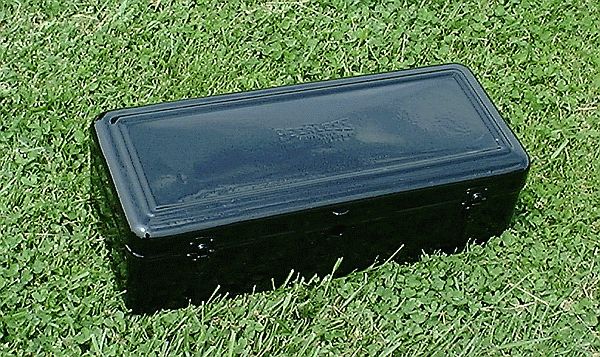
When operating a Stanley a readily accessible set of tools is necessary along with the torch to light the burner. Most Stanley owners mount a small toolbox on one of the running boards to provide handy access to tools. Later models of the 735 had a recessed tool pouch mounted on the inside of each of the front doors. While Stanley didn't offer a running board mounted toolbox as original equipment it was decided to add one during the restoration. The box obtained was similar to others found during the era and was painted black.
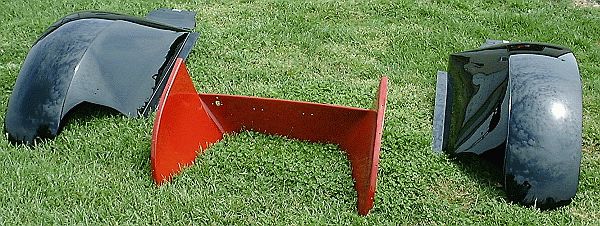
Along with all the smaller parts and pieces that required painting gloss black the four wheel fenders also required extensive bodywork (including replacement of small sections of the sheetmetal) and painting. Shown in the above photograph are the two front wheel fenders along with what we affectionately call the "cow catcher" that mounts below the condenser. While not readily apparent in the above photograph the two front wheel fenders are actually slightly different in their shapes attesting to the hand-made characteristics of the car. As bodywork progressed on the car differences between the right and left sides would become apparent. We often joked that a right-handed worker must have made the left side of the car while a left-handed worker made the right side of the car! |